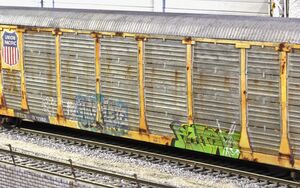
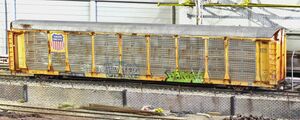
Weathering UP autorack
Weathering UP autoracks step by step.
Matte varnish
The first step was - as usual - a coat of matte acrylic varnish as a base for all following colors
White washes
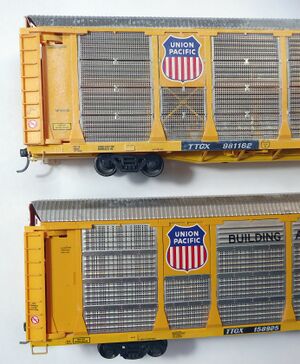
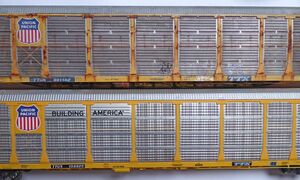
The yellow as of out-of-the-box was a little bit off and very toy-like. I wanted to have a faded look, so I applied three white washes:
The car at the top shows a car with three coats of a white acrlyic wash, the car at the bottom shows a car just unboxed. That's what I wanted to achieve. Don't be confused about the glossy shine at the moment; the last step will always be a coat of matte varnish!
The roof
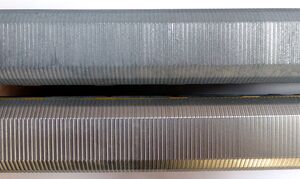
The roof was also too shiny, so I applied a coat of diluted light gray:
Again top weathered, bottom new.
End doors
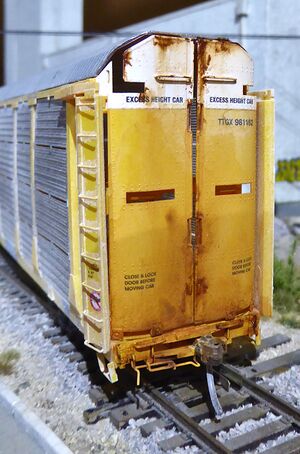
Now for the rust! I started with the end doors:
Sides
Now for the sides of the car:
Rust patches are done in three steps: First a patch of a reddish brown, followed by a darker brown in the middle, followed by a little bit of black here and there.
The rust streaks started with some ugly dots of an AK weathering pencil, some spirit and a fine brush solves this and it can be brushed down to a streak.
The final picture shows a comparison between a brand new car and the car weathered so far:
Graffiti
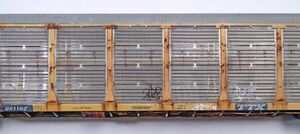
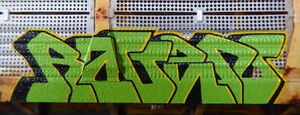
I wanted some graffiti on one side of the car - and applied it as a decal:
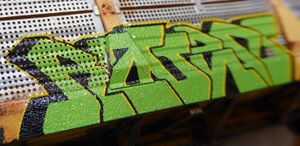
Apart from looking too new - it's looking odd because of the now closed holes in the side panels. The holes have to be opened again; I used a needle and pierced every single hole. The next picture shows the progress - some are already reopened, others still closed:
Work done - a big improvement!
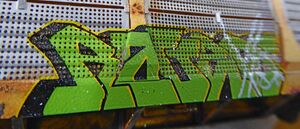
Weathering the graffiti itself will be the next step.
At first I thought I can avoid the tedious work of punching holes in the other decal because it is somehow transparent. But a closer look and some pictures taken showed me - no, this does not work. So again ... but the result is the reward:
Trucks
Finish
The last step was a coat of matte acrylic varnish - another car is ready for service on my layout!
