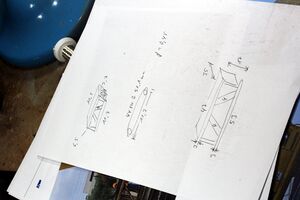
| First I took several screenshots of prototype videos found online to get the dimensions. With the screenshots, some measuring and a little bit of calculation I could made a sketch of what I want to build.
|
|
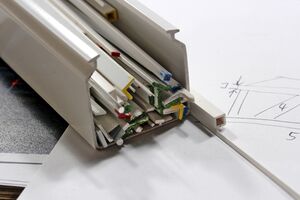
| My styrene strip stock - very convenient to have it at hand when building things.
|
|
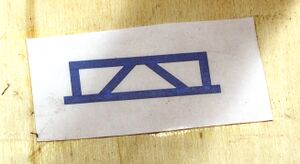
| I wanted to build a gage first, so I made a drawing on my computer, printed it out and glued it to some scrap plywood.
|
|
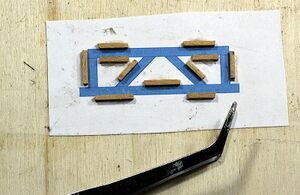
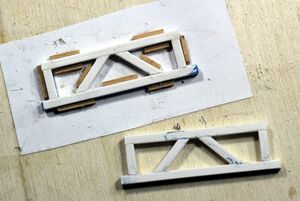
| The gage was built directly on top of the print with small pieces of wood. The styrene strips will now fit perfectly in place and I will get two identical sides easily.
|
|
| This picture shows how the sides are built: one side is already done, the second is still in the gage. This way both sides are identical and there is no hurry while glueing.
|
|
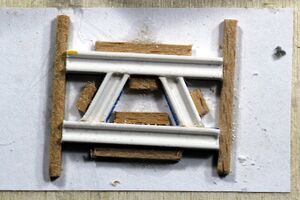
| Same procedure for the shorter sides as connection between the left and right side.
|
|
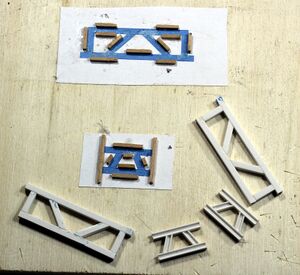
| Now all four sides are built. They are cleaned, a little bit of fine tuning, removing excess glue, ...
|
|
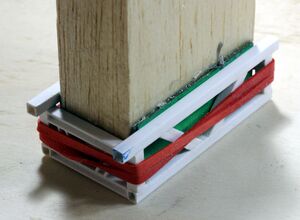
| Now all four sides have to be glued together. For doing this exactly and without stress I built a gage with some scrap wood and cardboard. After adjusting it I could apply the glue and just wait in patience.
|
|
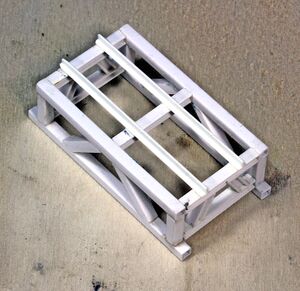
| That's the result - with an addition: Two strips are added on the top as a fall protection, to avoid the excavator to slip to one side.
|
|
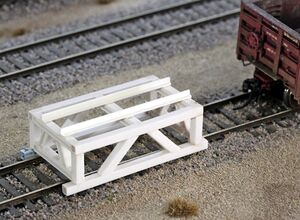
| Here the step is placed on the tracks for the first time to check if it looks legit.
|
|
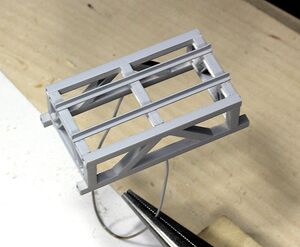
| After cleaning I applied a coat of acrylic primer and let it dry for at least 24h.
|
|
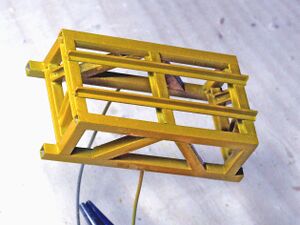
| The next step was applying the final color with an airbrush and weathering.
|
|
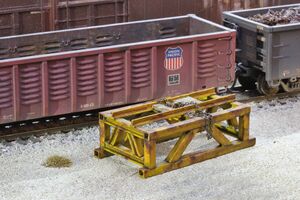
| Completed excavator step, waiting for the next gondola ...
|
|