Billboard
Zur Navigation springen
Zur Suche springen
Navigation: Details
| Such a large billboard needs a good groundwork. The ground cover is removed, a baseplate made of styrene. The first fine hole is already drilled. | 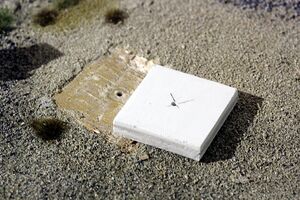
|
| Such a large billboard needs a good groundwork. The ground cover is removed, a baseplate made of styrene. The first fine hole is already drilled. | 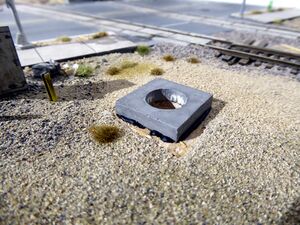
|
| Such a large billboard needs a good groundwork. The ground cover is removed, a baseplate made of styrene. The first fine hole is already drilled. | 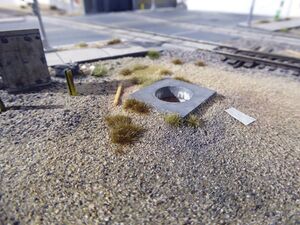
|
| The pole of the billboard is attached to the base with large screws (prototype). This part of the model is made as a 3D-print. I choosed resin with the highest resolution as material. The inner diameter fits exactly the pole width, the outer diameter fits exactly in the base plate of above. | 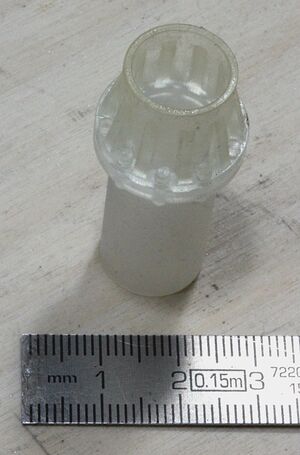
|
| This construction was made by myself with OpenSCAD (https://www.openscad.org), the printing was done by Shapeways. There is a big improvement in quality since I ordered something a few years ago. If I had knew this I would have made some details a little bit finer. | 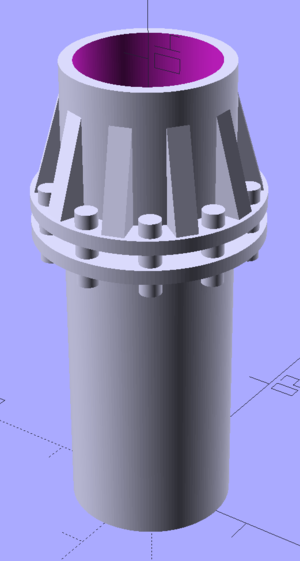
|
| I reflected often about how to mount the billboard on top of the pole - since I was afraid simply glueing it wouldn't be enough. My solution is a threaded rod from top to bottom inside the pole to clamp the billboard to the pole - works fine! | 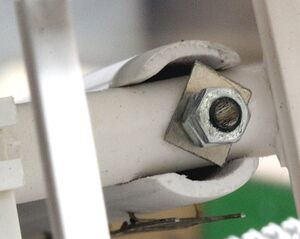
|
| I needed something to look like a real world mount of the billboard to the pole. I ended up with this - a cover to place on top of the pole after having mount the billboard with the help of the threaded rod. | 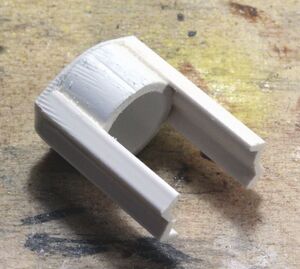
|
| I soldered thin brass wires to these photo etched ladders as a mount. | 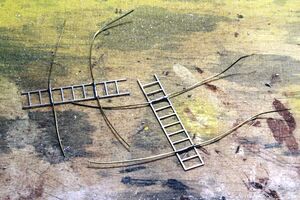
|
| I drilled small holes in the pole to fix the ladders with their mounts at the pole. | 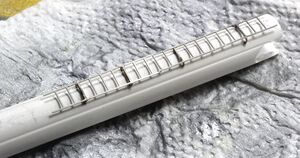
|
| I added some electrical cabinets and some fake wiring stuff to look like the real thing. | 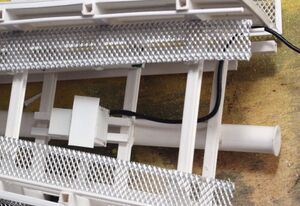
|
| These brackets are for the lights. | 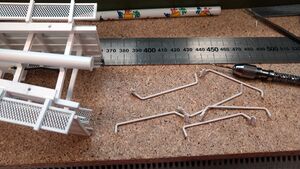
|
| Light brackets in place, but without LEDs so far. | 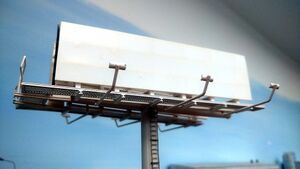
|
| First LED is glued in and still working - only five more to go. | 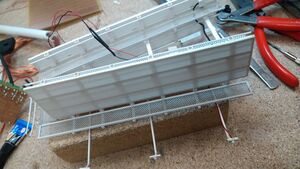
|
| Completely cleaned for painting, LEDs covered with tape. | 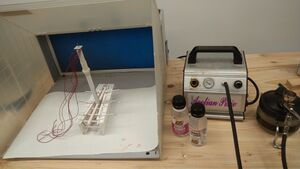
|
| Airbrushed with Vallejo primer and now drying for at least 24h. | 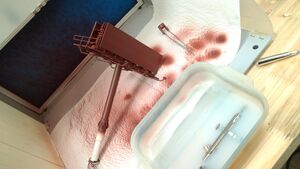
|
| The billboard got a weathering with a white wash first followed by a black wash. The big ads where fixed with a removable foto glue. | 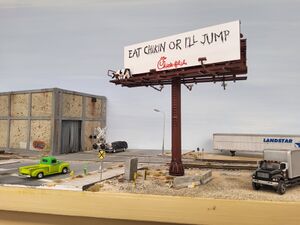
|
| Last step was adding the cow with some rods in her legs. (Picture taken free hand via tablet under normal room lighting.) | 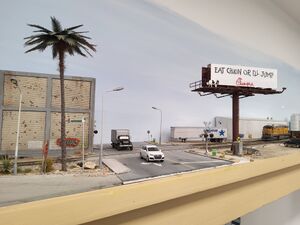
|